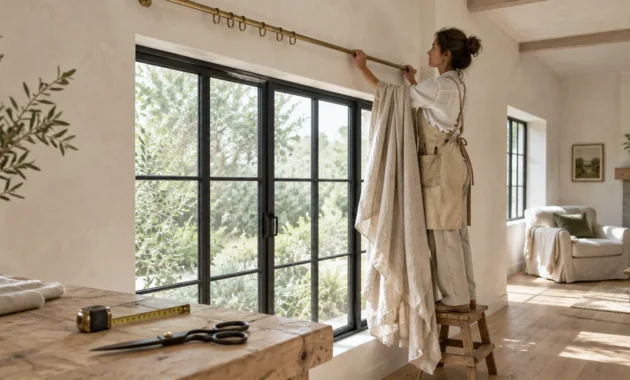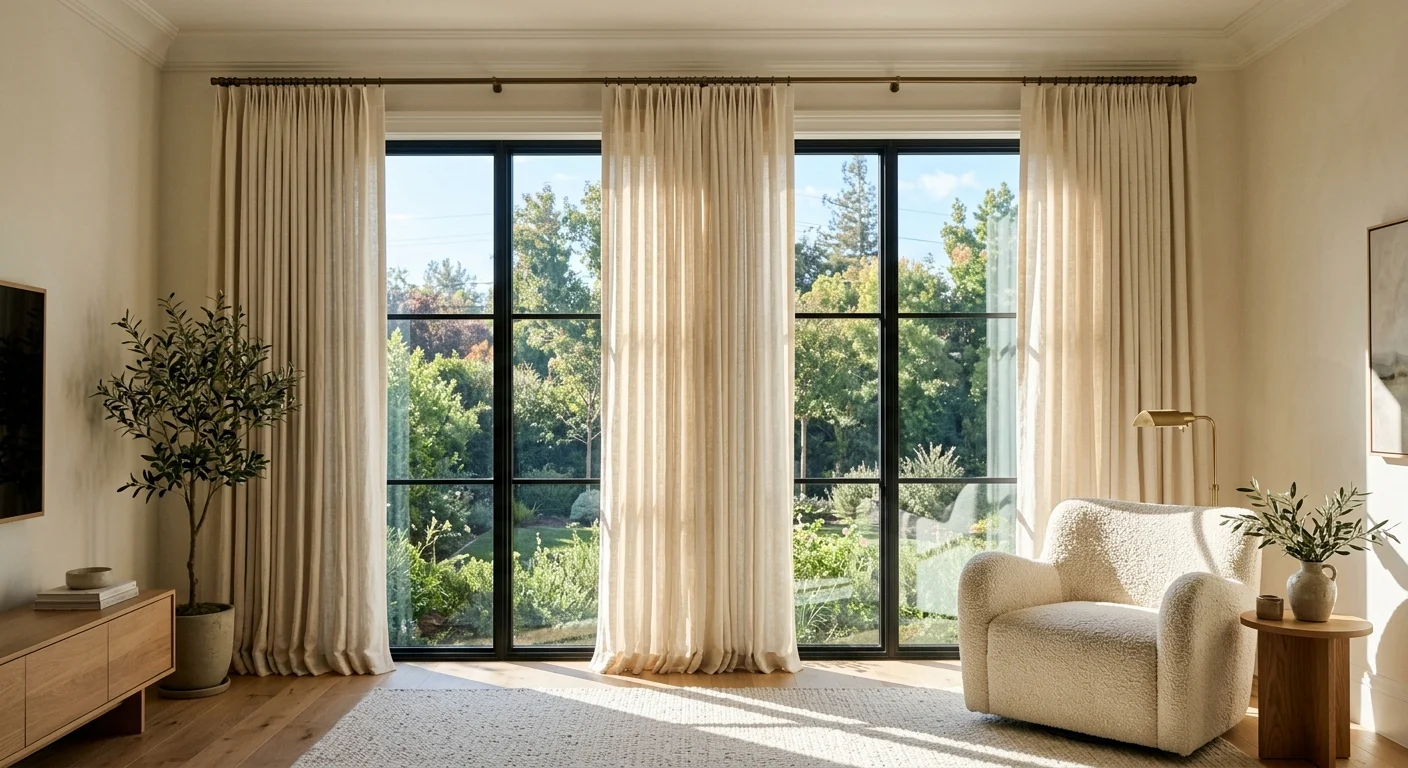
Poorly hung drapery instantly shrinks your room, stifles natural light, and throws architectural proportions out of balance. By making subtle adjustments to hardware placement, fabric weight, and length, you can create the illusion of soaring ceilings and expansive windows without undertaking a major renovation. Mastering how to hang curtains properly turns simple textile choices into powerful spatial interventions that elevate your entire living area. When you avoid common curtain hanging mistakes, your windows instantly expand, anchoring a room that feels airier, more luminous, and visually harmonious. Below, we break down the critical drapery errors compromising your home’s aesthetic and reveal the professional window treatment tips required to rectify them effortlessly.
Mistake #1: Mounting Drapery Hardware Directly Above the Window Frame
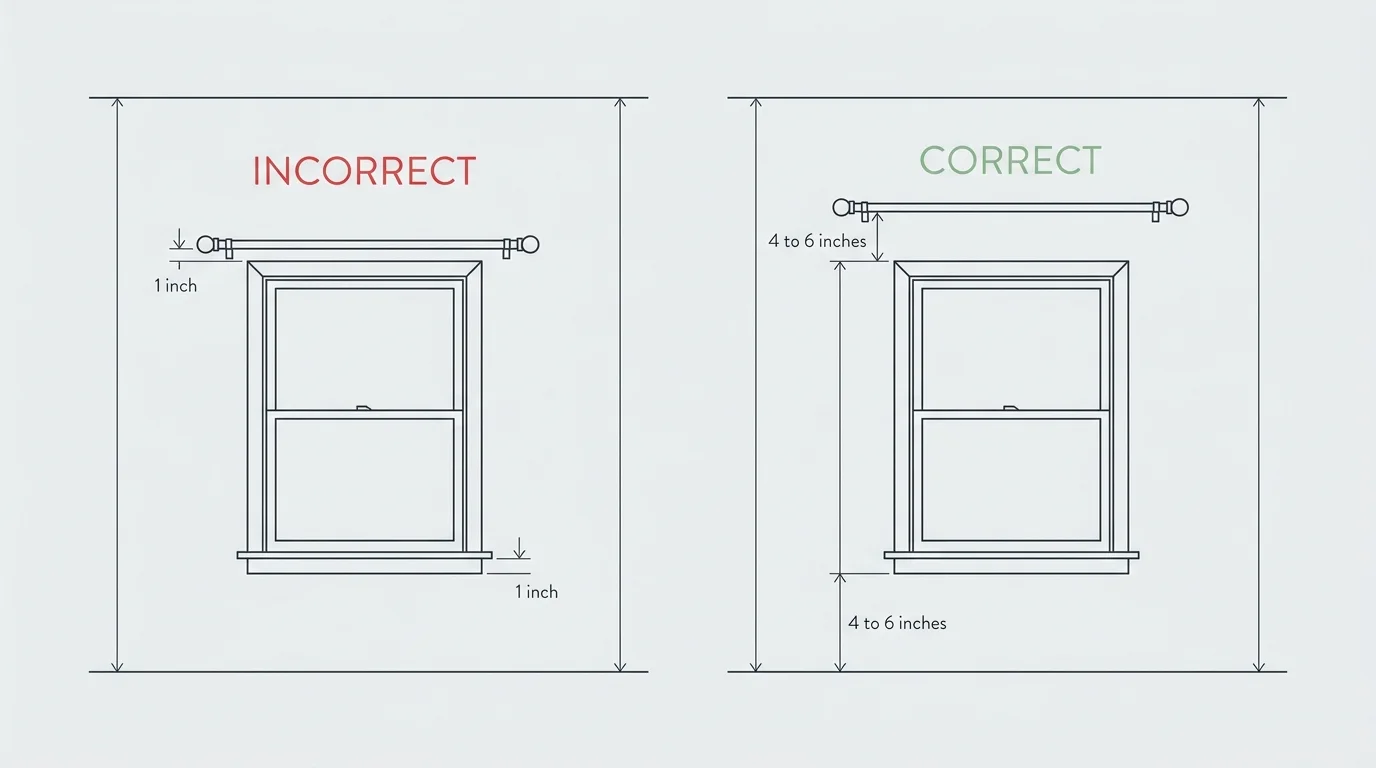
Mounting your curtain rod immediately above the top window casing remains one of the most pervasive design errors in residential interiors. When you attach hardware just an inch or two above the trim, you draw a hard horizontal line across the wall at the window’s literal height. This placement caps your visual elevation, cutting the wall height in half and forcing the ceiling to feel noticeably lower. Interior designers understand that sightlines dictate spatial perception; a low curtain rod stops the eye in its tracks, emphasizing vertical limits rather than architectural openness.
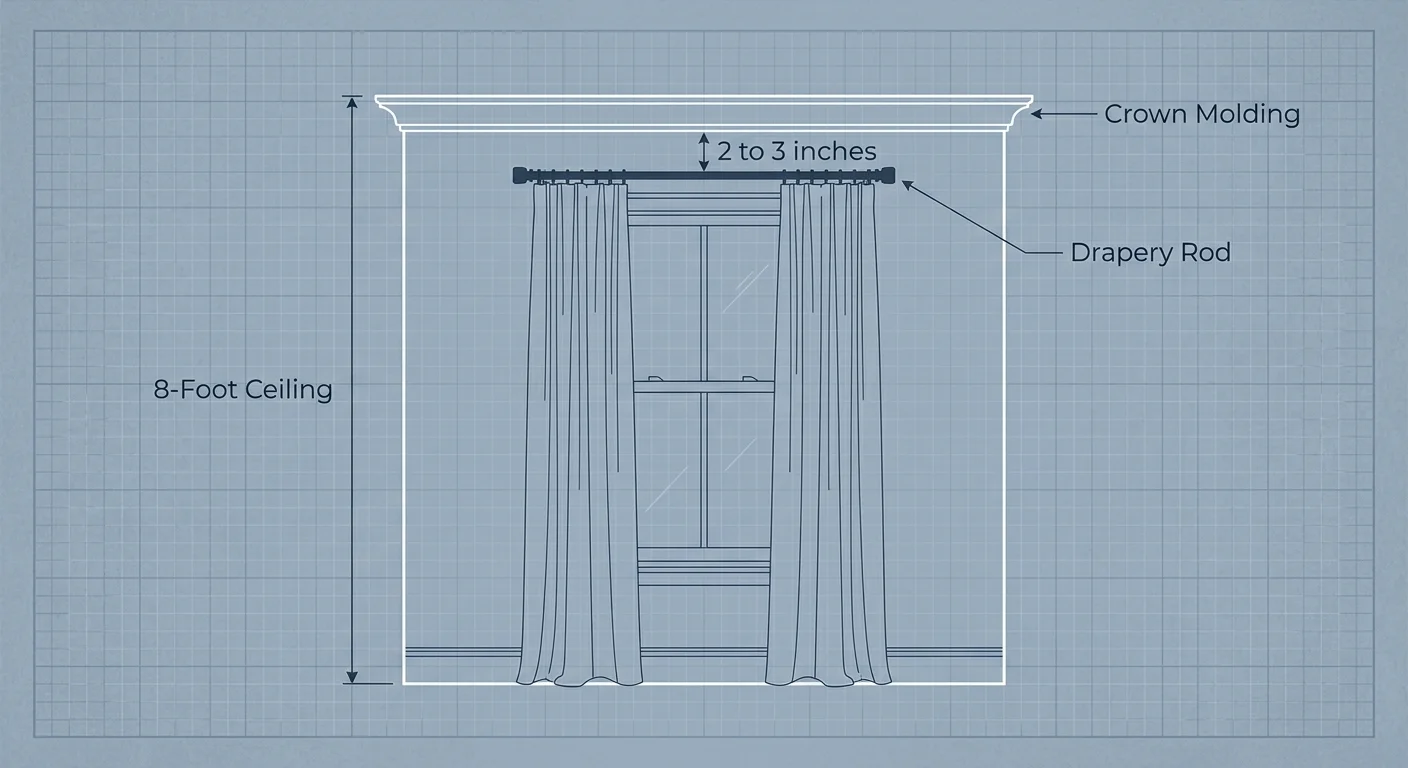
To correct this error and cultivate a high-end, bespoke feel, elevate your hardware placement significantly higher. Position your drapery rod roughly 4 to 6 inches above the frame at minimum, or extend it halfway between the top casing and the ceiling crown molding. In rooms with standard 8-foot ceilings, mounting hardware just 2 to 3 inches below the ceiling trim draws the eye upward in a continuous sweep. This simple elevation shift creates powerful vertical continuity, making your ceilings appear feet higher while converting standard fenestration into dramatic architectural features.
Architectural proportions rely heavily on how you manipulate wall space around openings. When you leave a gap of wall between the top of the window frame and the drapery rod, the curtain fabric covers that blank drywall when drawn, creating the optical illusion that the window itself extends all the way to the ceiling line. This quiet luxury technique instantly elevates living rooms, dining rooms, and bedrooms alike by expanding the perceived scale of your structural envelope.
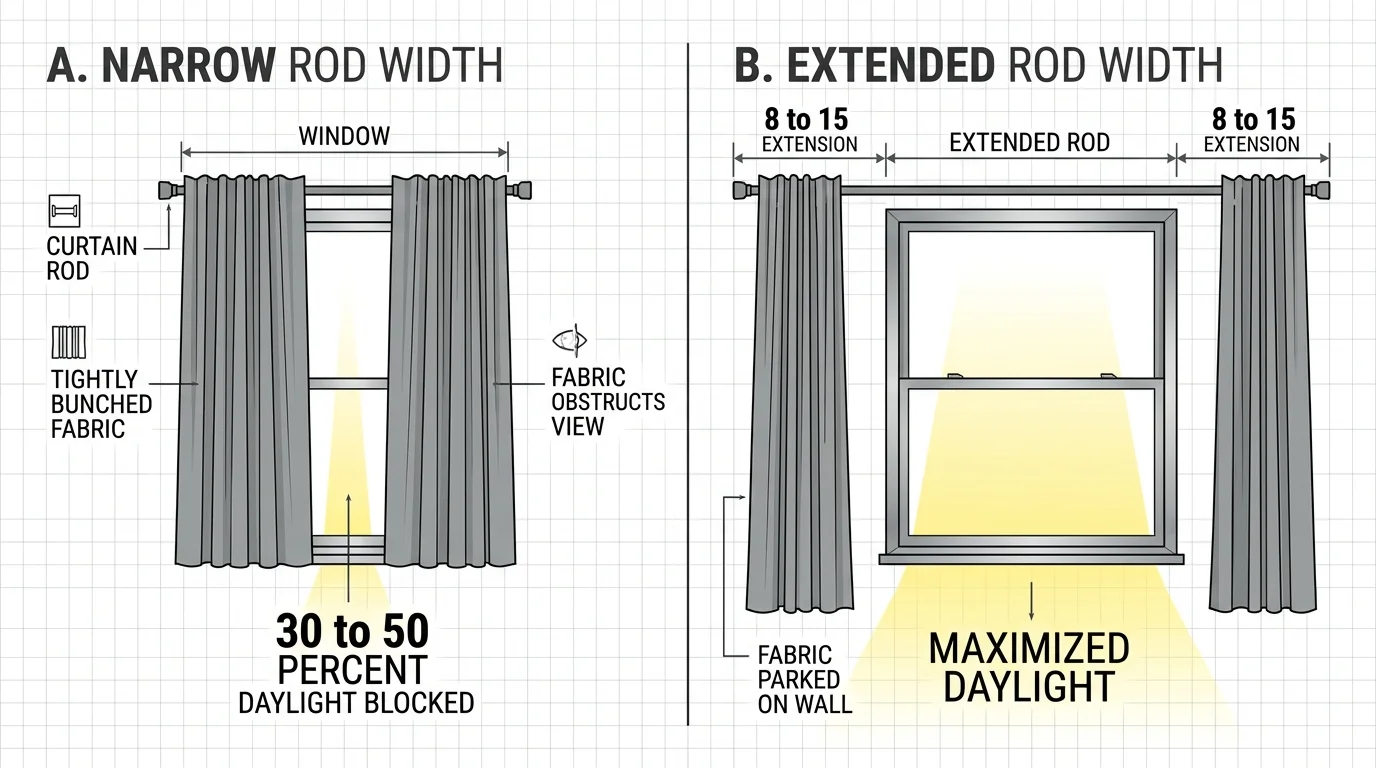
Mistake #2: Constricting Hardware Width and Smothering Natural Light
Choosing a curtain rod that matches the precise width of your window frame severely restricts your space. When you pull open drapery mounted on tight hardware, the bunched fabric—known in the interior design industry as the stackback—hangs directly over the glass aperture. This positioning blocks 30 to 50 percent of incoming daylight, casting unnecessary shadows across your flooring and seating areas while visually narrowing the window itself.
Rectify this issue by extending your drapery rod 8 to 15 inches beyond the outer edge of the window trim on both sides. For expansive living rooms with generous wall space, extending the rod up to 18 inches allows the fully drawn panels to rest completely against the dry wall, leaving the glass unobstructed. This technique maximizes daylighting, aligns with modern biophilic design principles by flooding your interior with outdoor views, and tricks the human eye into perceiving the window glass as twice its actual size.
When drapery panels frame the glass rather than overlap it, natural light bounces deeper into the room, reflecting off floor surfaces and wall finishes to expand the apparent boundary of your interior. You transform a cramped window into a generous light well simply by giving your textiles room to park outside the architectural frame. This functional update works seamlessly across both traditional double-hung windows and minimalist fixed picture windows.

Mistake #3: Settling for Awkward Fabric Lengths and High-Water Hems
Floating drapery panels several inches above the floor creates an awkward, unfinished aesthetic akin to wearing trousers that are far too short. This high-water effect disrupts vertical lines, drawing negative attention to the gap between fabric and flooring. When curtains hover aimlessly in mid-air, they sever the room’s visual anchor, making small spaces feel disjointed, unbalanced, and unrefined.
Reference an industry-standard curtain length guide to achieve flawless tailoring tailored to your interior style. For a crisp, modern aesthetic, choose a tailored float where fabric clears the floor by a precise quarter-inch, preventing dust accumulation while preserving clean lines. If you prefer timeless elegance, opt for a gentle break where fabric extends 1 inch past the floor line, creating a soft break across hardwood, stone, or plush carpeting. In formal dining rooms or lavish master suites, a rich 2-to-3-inch puddle of heavyweight linen or velvet adds dramatic texture and sophisticated volume.
Precision in length bridges the gap between store-bought readymade curtains and custom architectural drapery. When drapery extends continuously from high-mounted hardware down to the floor, it establishes unbroken vertical stripes of color and texture. This uninterrupted linear flow elongates walls, drawing the gaze downward from the ceiling line to ground the entire room layout with confidence and authority.
Mistake #4: Sacrificing Fullness with Insufficient Fabric Width
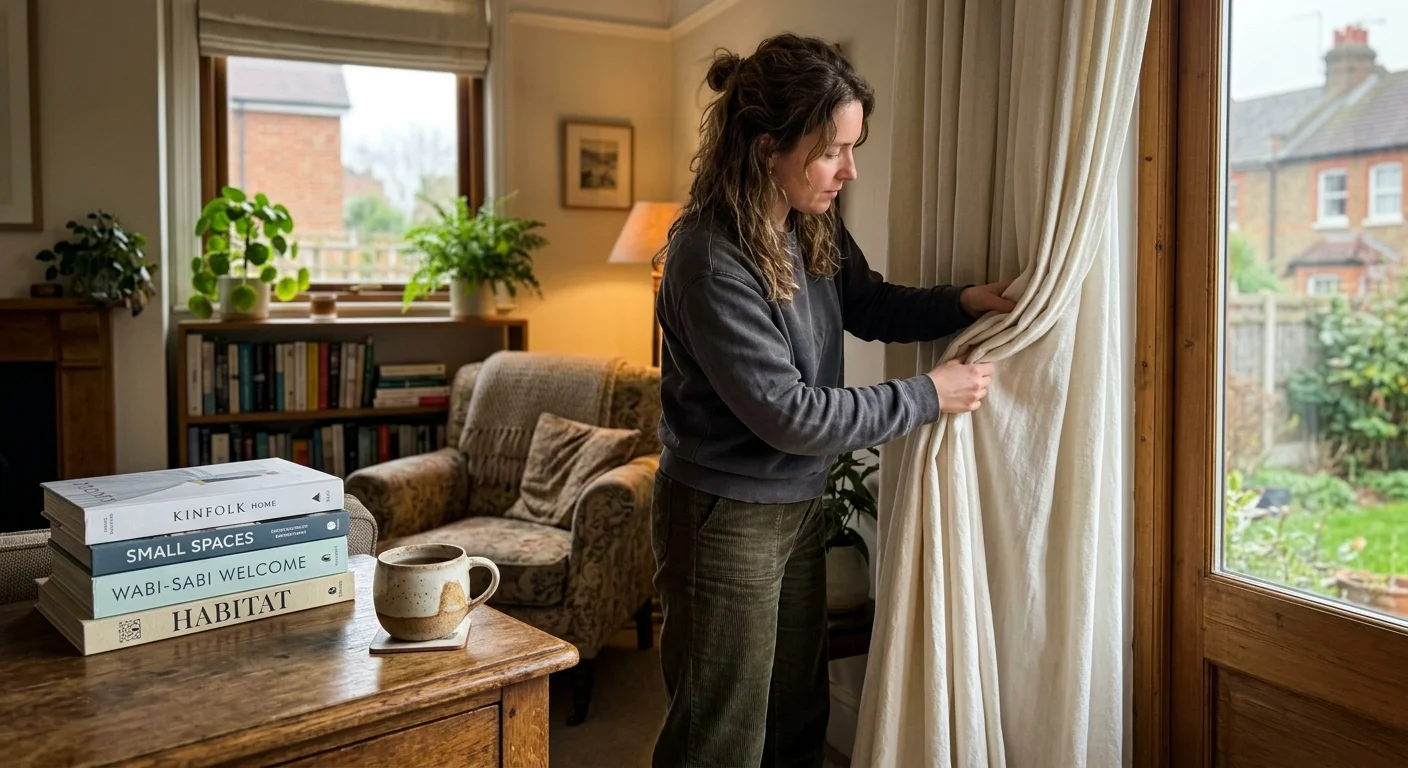
Skimping on total fabric width results in drapery panels that look flat, taut, and cheap when drawn closed across the window span. Thin, undersized curtains lack structural presence, looking more like flat bedsheets pinned to a wall than custom window treatments. Skimping on material deprives your room of the subtle luxury created by deep folds, rich shadow lines, and tactile dimension.
Calculate proper drapery fullness by ensuring your total panel width measures 2 to 2.5 times the overall width of your curtain rod. For sheer fabrics or lightweight linens, increase this fullness ratio to 3 times the width to maintain privacy and structural volume. Incorporating tailored headers—such as classic French pinch pleats, refined inverted box pleats, or sleek contemporary ripplefold systems—guarantees consistent, architectural folds. Proper fullness creates curtains that make room look bigger by adding luxurious tactile depth and establishing a confident spatial footprint.
Deep pleats create rhythmic light patterns and subtle acoustic dampening, which elevates the auditory and tactile experience within your home. When light hits deep fabric folds, it creates soft gradient shadows that enrich the ambient wall space. Investing in double-width or custom-tailored panels ensures that even when your drapes remain closed against evening glare, your windows maintain an opulent, sculptural presence.
Mistake #5: Overwhelming Small Footprints with Heavy, Opaque Textiles
Installing dense, heavy fabrics like thick cotton duck, dark brocade, or heavy velvet in compact or dimly lit spaces visually suffocates the room. Heavy fabrics absorb light rather than reflect or diffuse it, creating dense visual blocks on either side of your windows. In rooms with modest square footage, dark, weighty window treatments create visual claustrophobia, pulling the walls inward and accentuating spatial limitations.
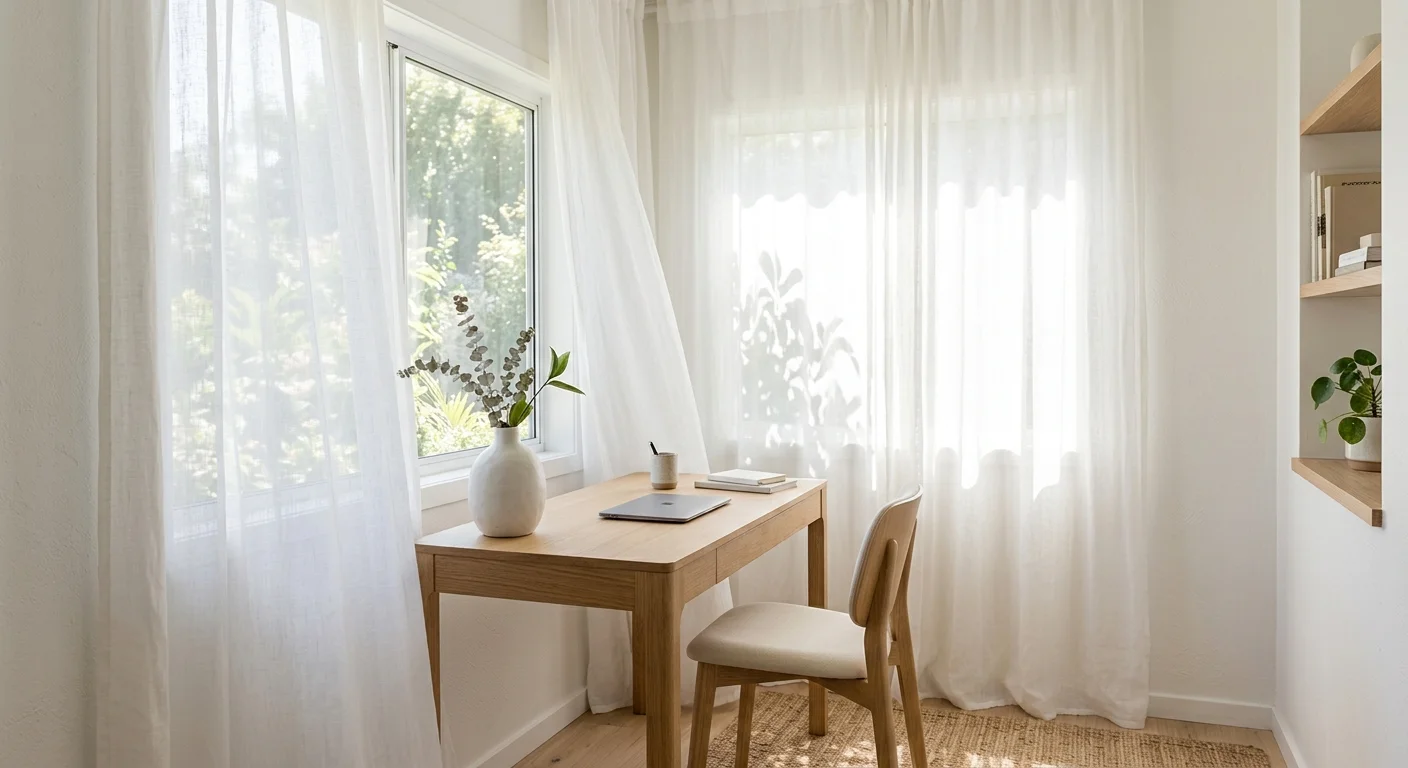
Select lightweight or semi-sheer materials that encourage natural illumination to filter into your interior. Unlined Belgian linen, open-weave wool sheers, and semi-translucent cotton blends soften harsh sunlight while preserving open sightlines to the exterior. If you want to expand your space visually, choose curtain fabrics that match your wall paint color or hover within two shades of it. This monochromatic alignment creates a seamless, uninterrupted backdrop, allowing the eye to flow effortlessly across the room’s perimeter without harsh high-contrast breaks.
Tonal cohesion between wall surfaces and drapery fabric erases hard structural boundaries, making small living rooms and compact home offices feel expansive. By allowing diffused sunbeam layers to filter through airy textiles, you introduce soft ambient glow across your floorboards and furnishings, creating a bright, welcoming atmosphere that celebrates spaciousness.
Mistake #6: Disregarding Room Elevation and Architectural Trim Cohesion
Treating window treatments as isolated decor elements rather than structural architectural components leads to severe design mismatches. Installing drapery without considering crown molding heights, baseboard profiles, or surrounding door frames creates competing horizontal lines. When curtain rods intersect awkwardly with neighboring architectural trim or hang at arbitrary heights relative to wall art, the overall spatial geometry feels chaotic and uncalculated.
View your room elevation as a unified canvas where every architectural boundary interacts with the next. In contemporary homes or spaces with low ceilings, consider architectural ceiling-mounted recessed drapery tracks. Floating your curtains directly from a concealed ceiling channel eliminates visible hardware, allowing fabric to cascade downward like an architectural waterfall. This ceiling-to-floor installation eliminates awkward wall gaps, anchors your room layout, and underscores the refined ethos of quiet luxury design.
Aligning drapery tracks with ceiling architecture simplifies visual clutter, framing the window with pure geometric lines. In historic or traditional homes with elaborate crown moldings, mount hardware directly beneath the lowest molding edge. This calculated alignment honors historical craftsmanship while establishing precise vertical sightlines across the entire wall elevation.

Mistake #7: Selecting Weak or Mismatched Hardware Finishes
Mounting heavy, luxurious textiles on flimsy half-inch telescoping rods inevitably leads to unsightly sagging in the middle of your window span. Beyond structural failure, selecting hardware finishes in isolation—such as pairing shiny chrome curtain rods with warm brass lighting fixtures and matte black door handles—creates visual friction that distracts from your window’s view.
Invest in high-grade hardware with appropriate visual weight and structural integrity, choosing solid metal or wooden rods between 1 and 1.5 inches in diameter. Align your rod finish with the dominant metallic accents established across your room’s hardware palette. Hand-rubbed antique brass adds warmth to organic modern schemes, while matte black hardware delivers crisp architectural structure to minimalist spaces. Ensure your mounting brackets extend securely into wall studs, providing reliable support that keeps your window framing perfectly level and visually imposing.
Proper hardware scaling grounds your drapery design, transforming support structures into decorative accents. Substantial end finials, heavy duty return brackets, and smooth-gliding ring hardware elevate daily interaction with your window treatments. When hardware operates smoothly and complements adjoining architectural details, it reinforces the sense of quality and design precision across your entire home interior.
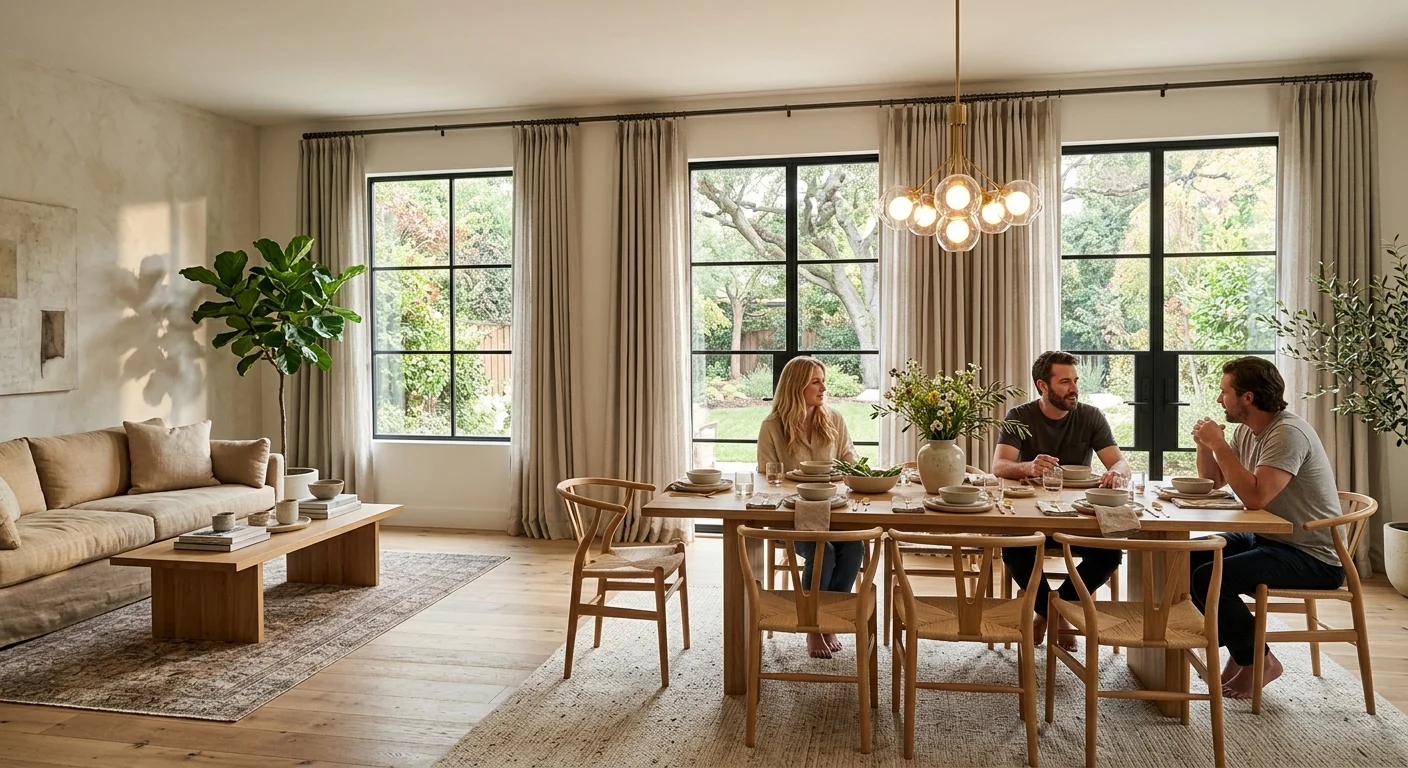
The Big Picture: Weaving These Trends into Your Home
Transforming your windows from awkward focal points into expansive architectural assets requires a holistic view of your home’s interior environment. Effective window treatment tips do not operate in a vacuum; they interact directly with your rug dimensions, accent furniture scale, wall color palettes, and lighting strategies. By scaling your drapery high and wide, choosing the correct fabric fullness, and anchoring your hems to the floor, you elevate your entire living room or dining area into a cohesive, high-end sanctuary.
For the latest color forecasts, consult industry leaders like Pantone and paint companies like Benjamin Moore. For professional design standards, refer to the American Society of Interior Designers (ASID). Applying these professional guidelines empowers you to curate window treatments that optimize natural light, accentuate room elevation, and deliver long-lasting aesthetic value.
Treating window design as an architectural study rather than a decorative afterthought ensures your home feels spacious, curated, and intentionally styled. When you honor scale, light, and fabric weight, your windows become soaring vistas that celebrate natural sunlight and structural beauty.
Frequently Asked Questions
How far above the window frame should I mount my curtain rod?
Mount your curtain rod at least 4 to 6 inches above the top of the window frame, or elevate it to roughly 2 to 3 inches below your crown molding or ceiling line. Raising the hardware higher draws the eye upward, giving the illusion of higher ceilings and larger window apertures.
Should curtains touch the floor or hover slightly above it?
Tailored curtains should hover roughly 1/4 inch above the floor for a crisp, functional finish, or touch the floor gently with a 1-inch break for a classic, sophisticated tailored drape. Avoid leaving a gap larger than 1/2 inch, as high-water hems visually shorten your wall height and disrupt room balance.
How do I make a small window look larger using sheer curtains?
Extend your curtain rod 10 to 14 inches past the outer edges of the window frame on both sides and mount it near the ceiling. Hang full, semi-sheer linen or translucent panels that match your wall color. When pulled back, the sheer fabric rests entirely on the wall, letting full natural light penetrate while tricking the eye into seeing an expansive glass pane.
What drapery header style works best for creating vertical height?
Tailored pinch pleats, sleek inverted box pleats, and contemporary ripplefold header systems work best for vertical height. These engineered pleats maintain uniform vertical folds from ceiling to floor, guiding the eye smoothly along vertical lines to visually elongate your room.
Disclaimer: This article reflects design trend analysis and predictions. Personal taste and timeless design principles should always guide your decorating choices.