High-end interior design relies as much on flawless execution and immaculate surface maintenance as it does on curated color palettes or bespoke furnishings. While standard cleaning routines handle daily dust, professional contractors secret away targeted solvent hacks to resolve complex architectural friction, stubborn adhesive residue, and metal oxidation without damaging fine finishes. Among these professional secrets, standard WD-40 functions as a precise petroleum-based solvent and hydrophobic displacement barrier rather than a simple lubricant. By mastering these seven contractor-tested applications, you can protect your financial investments, preserve material provenance, and maintain the immaculate aesthetic integrity of your living spaces with incredible precision.
1. Restoring Architectural Hardware and Matte Metals without Ruining Patina
Architectural hardware serves as the functional jewelry of your home, setting the tactile tone for living room doors, kitchen cabinetry, and grand entryways. Whether you favor unlacquered brass, hand-rubbed bronze finishes, or modern powder-coated matte black fixtures, metal hardware naturally accumulates skin oils, environmental atmospheric grime, and white oxidative bloom over time. Traditional heavy-duty metal polishes contain harsh industrial abrasives that strip aged patinas or permanently scratch factory powder coatings; professional builders utilize gentler, specialized contractor cleaning hacks to restore these high-touch surfaces without causing structural or aesthetic compromise.
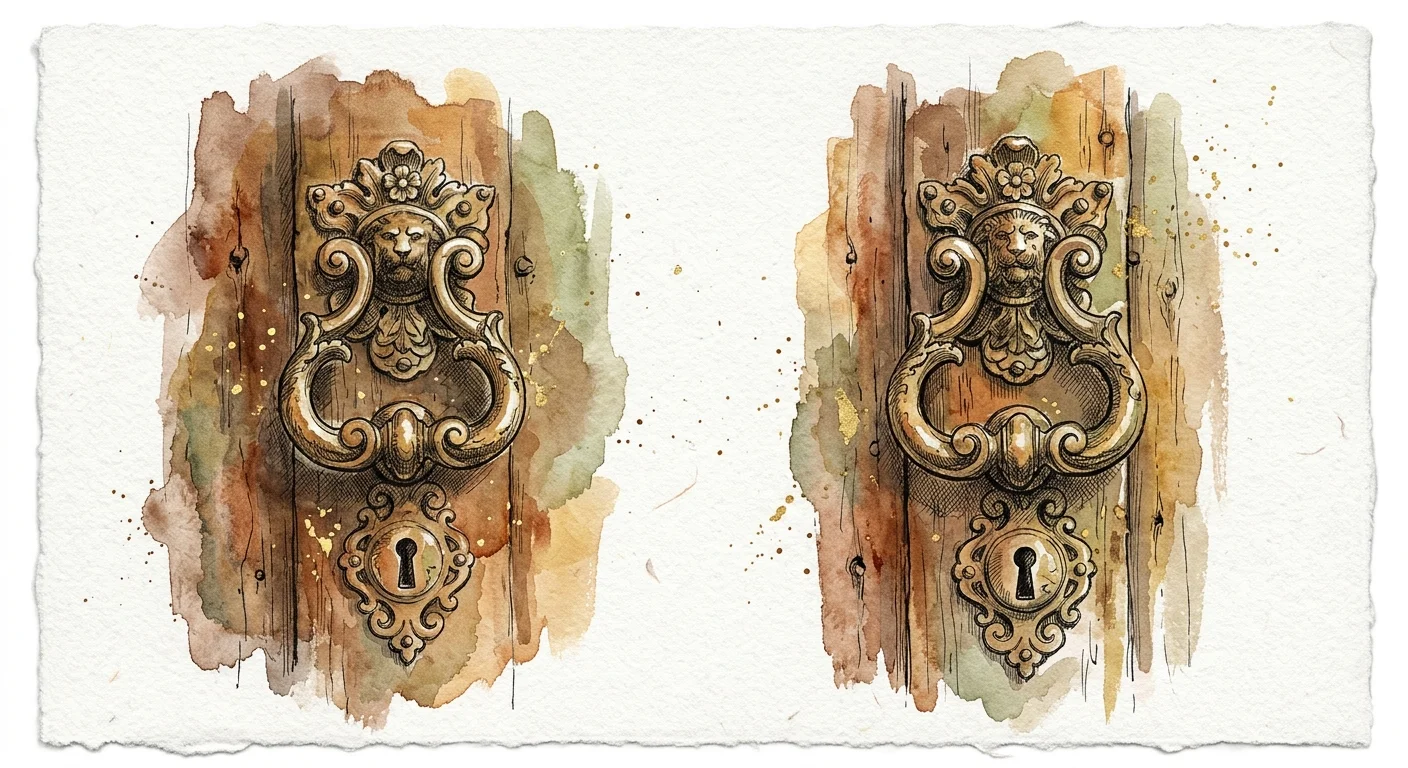
Contractors apply a micro-misted coat of WD-40 directly onto a clean microfiber cloth rather than spraying the metal fixture itself. You can rub the dampened cloth lightly across forged iron hinges, vintage brass door handles, or matte black interior latches to dissolve built-up grease and surface grime effortlessly. The formula aliphatic hydrocarbons dissolve surface contaminants without eroding delicate chemical patinas or destroying clear coats. Furthermore, the remaining ultra-thin hydrophobic film acts as a invisible protective seal against ambient moisture and fingerprint oils, preserving the deep visual richness and historical provenance of your metal accents across all seasons.
When dealing with intricate, carved metalwork or historical iron fittings, applying this technique prevents atmospheric humidity from penetrating surface micro-fissures. Modern interior trends increasingly emphasize authentic, tactile surfaces; maintaining hardware with petroleum solvent wipes allows you to enjoy the organic aging process of brass and bronze without suffering from unsightly, chalky surface degradation. Integrate this delicate restorative wipe down into your bi-annual deep maintenance routine to ensure your door hardware operates smoothly while retaining its quiet luxury appeal.
2. Removing Tile Grout Haze and Excess Silicone Caulk Cleanly
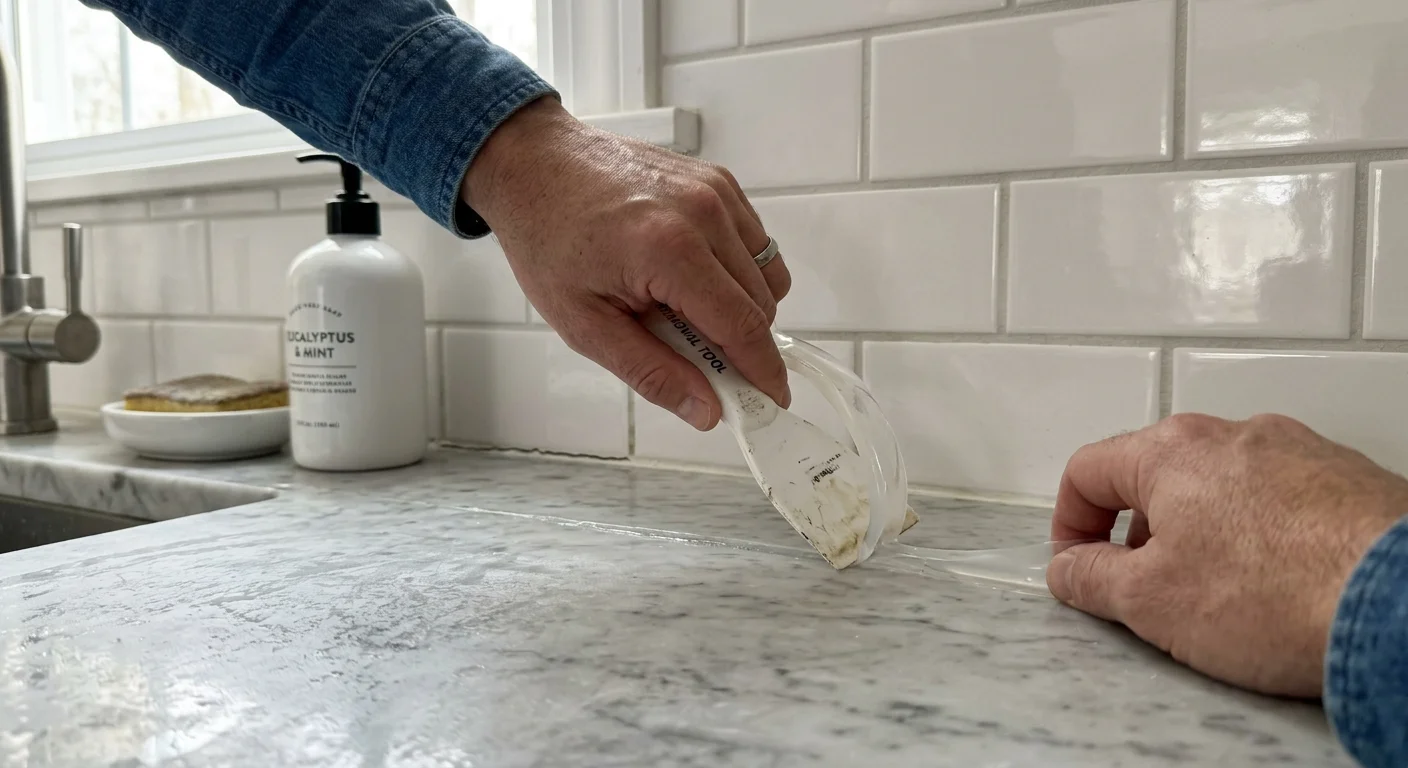
Modern bathroom and kitchen designs depend heavily on crisp architectural lines, expansive porcelain slabs, and immaculate tile grids. However, post-renovation work frequently leaves behind stubborn silicone caulk smears or persistent dry grout haze that dulls stone surfaces and spoils pristine color transitions. Scraping cured silicone with traditional steel razor blades carries immense financial risk; a single moment of instability can permanently score costly marble, quartz, or glazed porcelain tiles. Experienced tradespeople rely on essential WD-40 tips and tricks to eliminate cured sealants cleanly without harming delicate subterranean or surface materials.
To remove sloppy silicone lines along bathroom baseboards, custom vanities, or frameless glass shower enclosures, spray a small amount of WD-40 along the exposed edge of the bead. Allow the petroleum solvent five to ten minutes to penetrate beneath the silicone layer, softening its chemical bond with the substrate. You can then slide a plastic putty knife or flexible scraper under the caulk, causing the sealant to lift away cleanly in continuous ribbons. This process eliminates the need for harsh metal blades, preserving the pristine polish of your surrounding tilework.
For stubborn epoxy or cementitious grout haze clouding non-porous glazed tiles in the dining room or foyer, buffing the affected area with a WD-40-dampened microfiber cloth breaks down the residual polymer film rapidly. The solvent softens the stubborn haze without penetrating deep into the grout lines themselves. Always complete this task by wiping the floor or wall tiles with warm, soapy water or a dedicated neutral cleaner to remove any residual solvent slickness, leaving your tile grid mathematically sharp and impeccably clean.
3. Eliminating Floor Scuffs on Hardwood and Custom Vinyl Plank
Floor coverings set the foundational aesthetic tone for your living rooms and dining spaces, grounding your interior design scheme in rich wood grains or tailored stone textures. Dark rubber shoe soles, moving furniture legs, and heavy construction boots frequently leave ugly black friction scuffs across matte polyurethane-finished oak, walnut, or luxury vinyl plank (LVP) flooring. Aggressive scrubbing pads or abrasive household cleaners can permanently dull the clear-coat satin shine, leaving flat spots that catch ambient light unevenly and ruin your flooring visually.
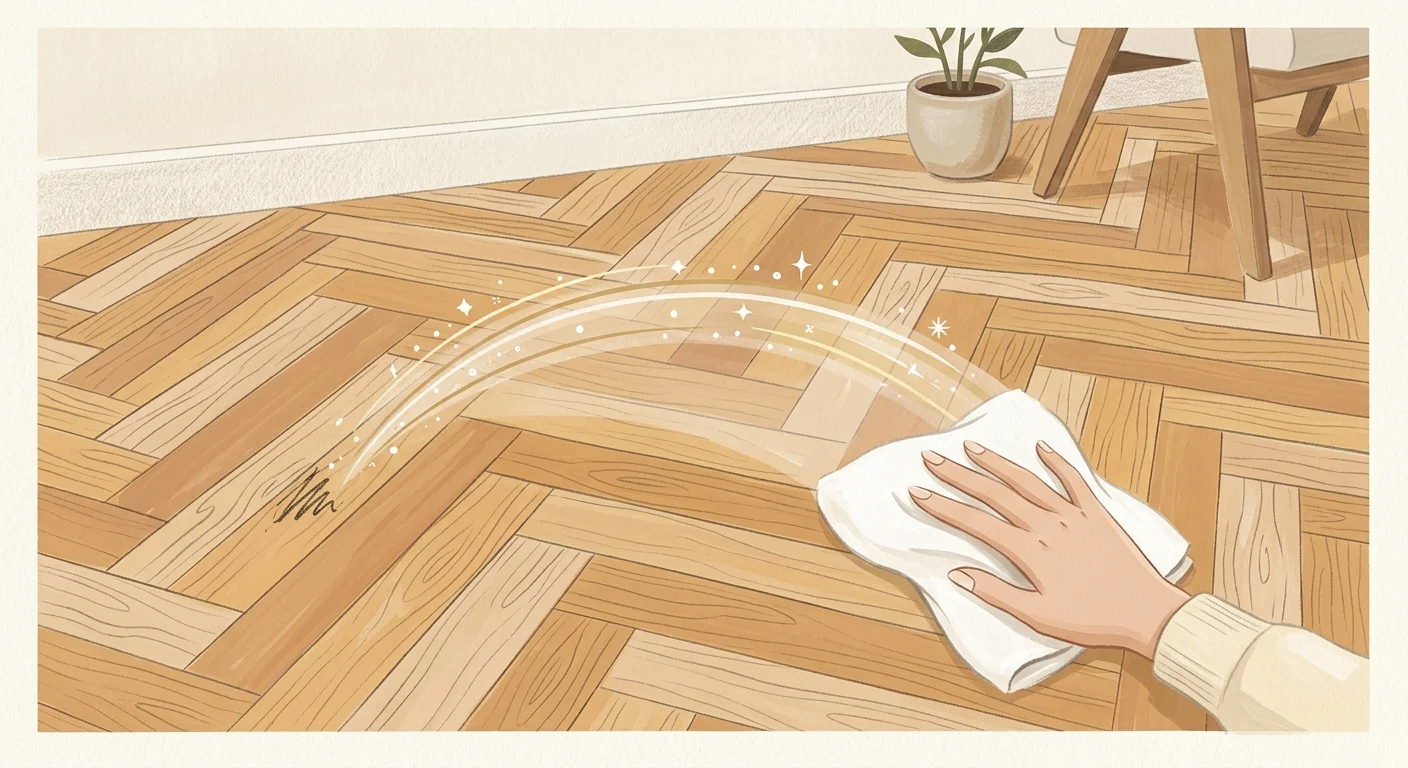
Among the most versatile household WD-40 uses, removing stubborn rubber heel marks ranks highest for interior trim installers and master flooring contractors. You can spray a tiny dab of WD-40 directly onto a soft rag and gently rub the scuff mark in small circular motions. The liquid solvent lubricates the surface while breaking down the vulcanized rubber particles, lifting them cleanly away from the polyurethane without dissolving or dulling the protective floor finish underneath.
This subtle scuff-removal technique works brilliantly across wide-plank engineered flooring and high-traffic hardwood hallways. Because the solvent breaks the mechanical bond of the rubber deposit without abrading the floor, you avoid creating secondary scratching patterns. After the scuff lifts away, wipe the area thoroughly with a clean microfiber cloth dampened with a pH-neutral hardwood floor cleaner. This final step neutralizes the solvent residue, restoring a uniform matte or satin luster across your entire room floor plan.
4. Conditioning Bespoke Stainless Steel and Integrated Architectural Features
Bespoke kitchens increasingly feature grand stainless steel range hoods, architectural metal wall panels, and high-end integrated chef appliances. While brushed steel delivers an industrial, elevated modern aesthetic, it notoriously attracts smudges, water spots, and streaky handprints that compromise your home quiet luxury look. Conventional aerosol stainless steel polishes often contain thick mineral oils that trap ambient dust and create a sticky build-up over time, demanding constant reapplication and frustrating upkeep.
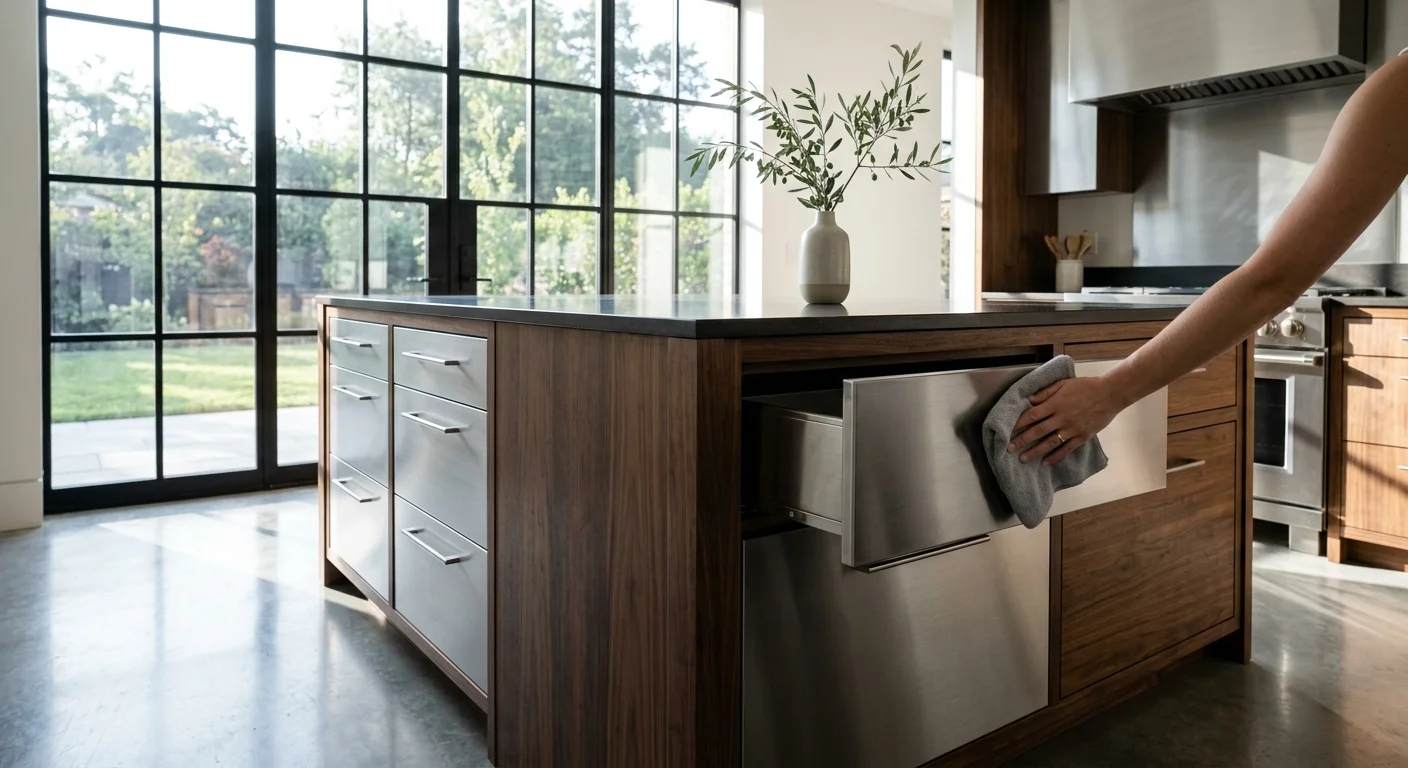
Contractors utilize versatile WD-40 uses around the house to achieve streak-free, factory-fresh stainless steel surfaces across high-traffic kitchen spaces. Spray a fine mist of WD-40 onto a clean microfiber towel and wipe the metal panel strictly following the grain direction of the brushed steel. The formula dissolves greasy cooktop splatters and skin oils while leaving behind a microscopic hydrophobic barrier that actively repels future water drops and fingerprints. This lightweight conditioning coat enhances the deep, satin luster of your stainless steel fixtures without capturing floating kitchen dust.
In addition to appliances, this conditioning technique works wonders on architectural steel fireplace surrounds, stainless metal transition strips, and custom metal floating shelf brackets in contemporary living rooms. The ultra-thin coating prevents ambient moisture from inducing micro-corrosion in homes located in humid or coastal climates. By conditioning your architectural steel fixtures once a month, you maintain a uniform metallic sheen that seamlessly compliments natural stone counter tops and warm timber accents.
5. De-Squeaking and Lubricating Concealed Door Hinges and Pocket Doors
Acoustic serenity forms an essential, often overlooked dimension of sophisticated interior architecture and spatial design. Persistent door squeaks, grinding pocket door rollers, or sticking hidden panel doors instantly undermine the serene atmosphere of a thoughtfully decorated residence. Heavy solid-core wood doors put immense pressure on internal hinge pins, accumulating interior dust and metallic debris that grinds away silent operation over years of daily use.
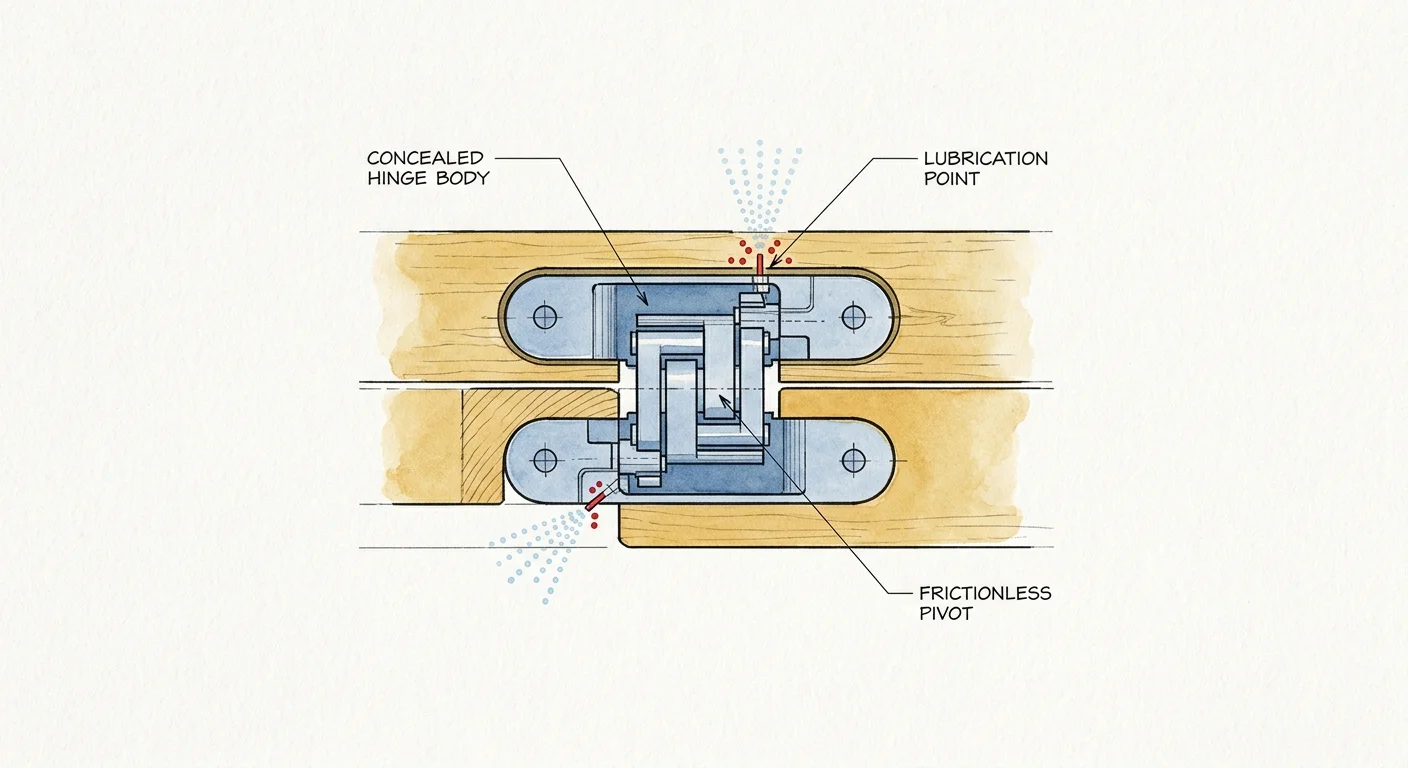
Professional trade contractors rely on targeted DIY home maintenance hacks to service hidden door mechanisms without disassembling custom trim work or removing heavy architectural paneling. Insert the precision straw attachment into the spray nozzle, placing the tip directly at the top seam of your door hinges or inside the overhead tracking channel of pocket doors. A brief pulse flushes out trapped dust while delivering essential hydrophobic lubrication straight to internal bearings; this immediate displacement action restores quiet, effortless gliding motion across heavy timber or glass doors.
Unlike heavy lithium greases or thick oils that attract dust bunnies and dripped residue inside pocket door wall cavities, WD-40 penetrates narrow mechanical tolerances rapidly. After spraying, swing the door back and forth several times to distribute the fluid evenly across the internal bearings, then wipe away any surplus dripping solvent with a shop towel. Maintaining your interior doors ensures smooth acoustic transitions between private bedrooms and public living spaces, reinforcing the luxurious feel of your home layout.
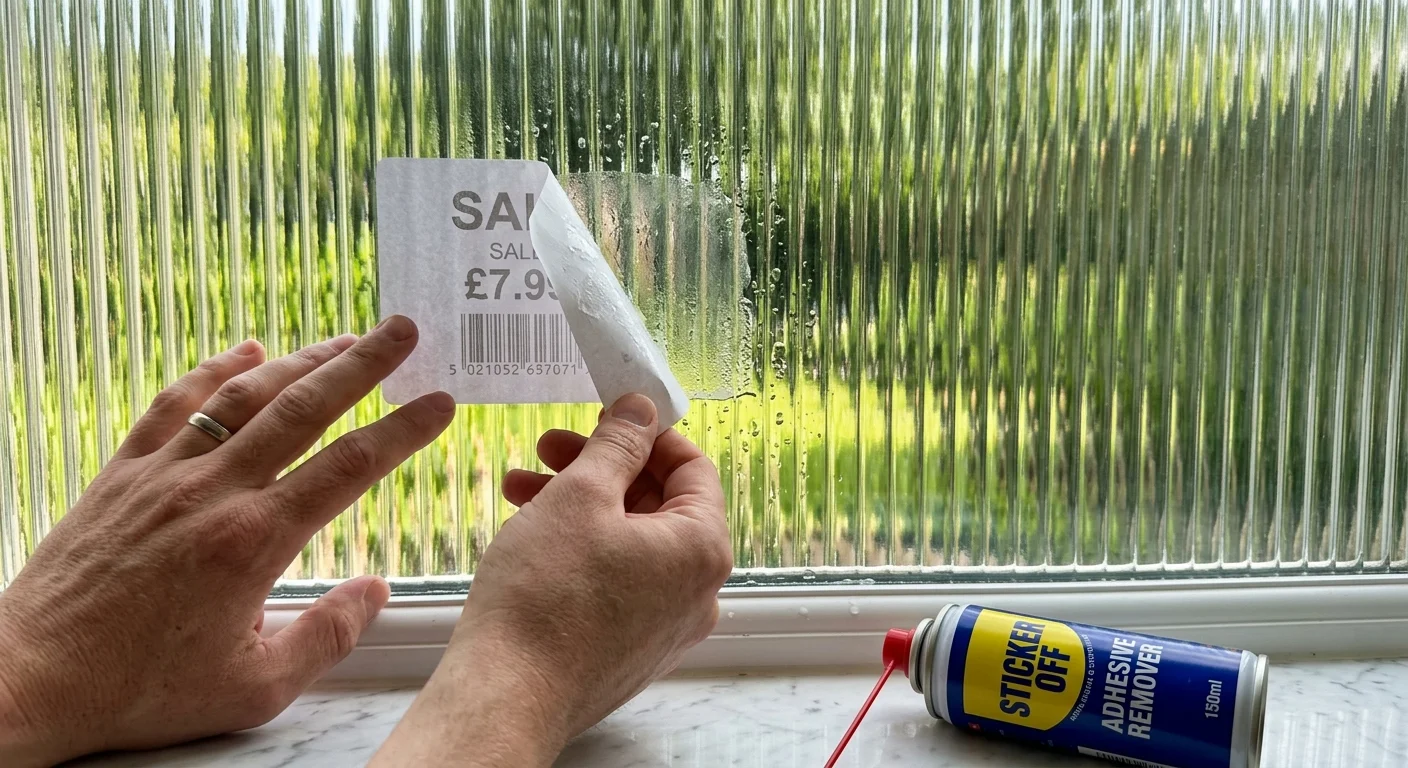
6. Safely Dissolving Adhesive Residue from Custom Glass and Fluted Windows
Architectural glass features—ranging from expansive floor-to-ceiling double-glazed windows to delicate fluted glass room dividers—bring natural sunlight into modern interiors while reinforcing biophilic design connections. However, manufacturers apply aggressive adhesive protective films and paper labels to protect glass surfaces during construction and transit. Stripping these protective layers often leaves behind stubborn, tacky tape polymers that attract ambient dust and resist standard window cleaners.
Attempting to scrape dried tape residue off delicate textured fluted glass, tempered glass panels, or tint-coated glass with razor blades risks permanent glass scratching. Contractors overcome this delicate issue by spraying WD-40 directly onto the sticky adhesive residue and letting it dwell for two to three minutes. The penetrating solvent breaks down the synthetic adhesive polymers, allowing you to wipe away the softened glue effortlessly using a clean, lint-free cotton cloth or soft microfiber pad.
This adhesive removal technique proves equally invaluable when removing painter tape residue from glass window panes after applying fresh interior wall paint. The solvent liquifies hardened rubber-based or acrylic adhesives without degrading surrounding glass sealants or wooden sash finishes when applied with control. Once you wipe away the softened adhesive, clean the glass pane with a dedicated alcohol-based window cleaner to eliminate any faint solvent sheen, leaving your architectural glass sparkling, clear, and perfectly transparent.
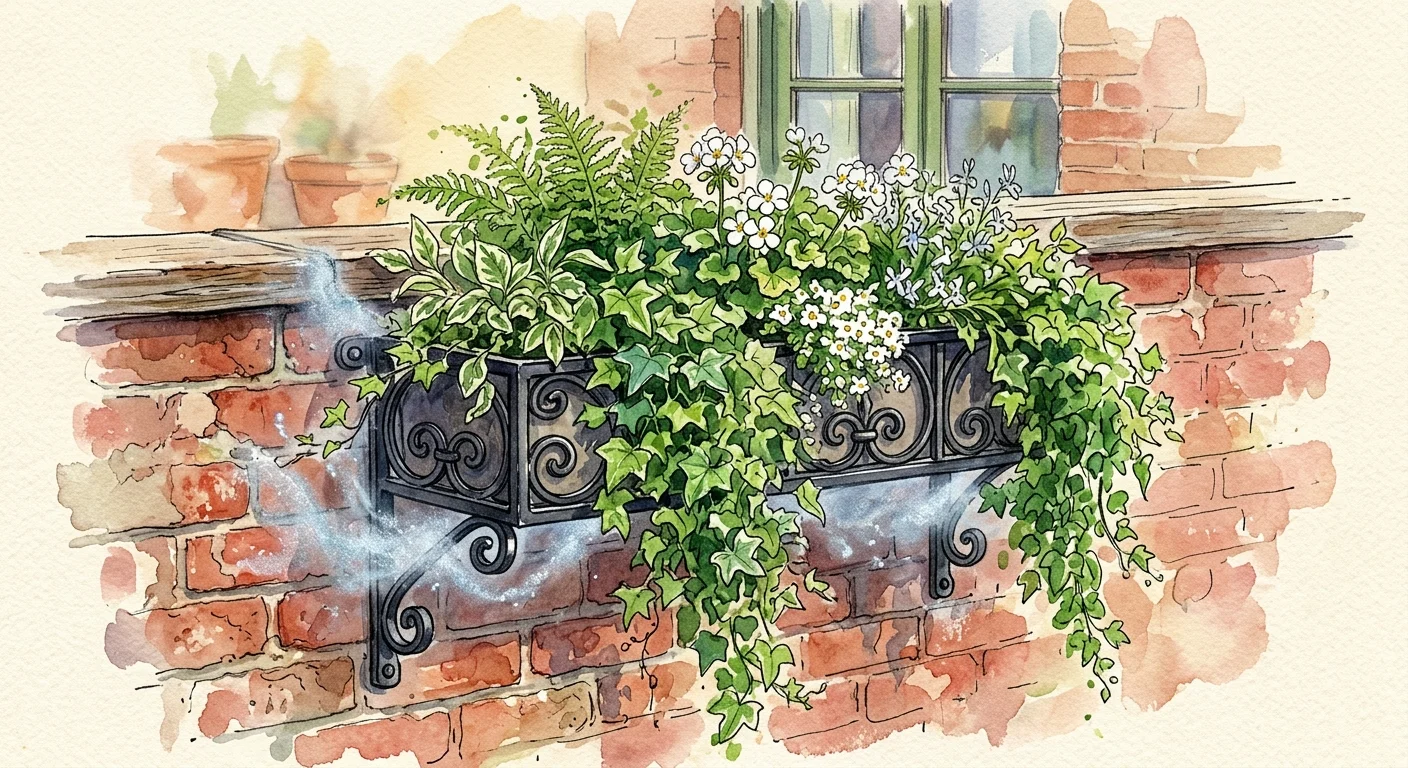
7. Shielding Exterior Metal Accents and Biophilic Iron Planters Against Corrosion
Biophilic interior design seamlessly blurs the spatial boundaries between indoor living rooms and outdoor garden patios through the strategic placement of botanical elements, heavy iron planters, and wrought-iron window boxes. Unfortunately, ambient humidity, soil moisture, and irrigation runoff cause iron and steel accents to develop chalky oxidation and reddish rust quickly. Left unchecked, rust runoff bleeds onto natural stone pavers, exterior decking, and surrounding interior wood thresholds, causing severe, unsightly staining.
Contractors employ WD-40 as a seasonal moisture barrier for exterior metal features and decorative garden elements before oxidation takes root. Wiping clean iron planters, metal patio door sills, and steel plant stands with a cloth soaked in WD-40 leaves behind a durable, water-displacing shield that prevents atmospheric moisture from contacting raw metal molecules. This simple preventative routine maintains the crisp, matte-black aesthetic of your biophilic ironwork while insulating surrounding masonry and flooring from rust discoloration.
For homes situated in coastal regions with high salt exposure, this protective petroleum film shields metallic light fixtures, gate latches, and outdoor furniture frames from aggressive salt spray corrosion. Reapplying a quick wipe down during seasonal spring and autumn cleanup preserves metal structural integrity and color vibrancy. By taking proactive measures to seal metal garden elements, you ensure a harmonious aesthetic flow between your indoor spaces and outdoor living environments year-round.
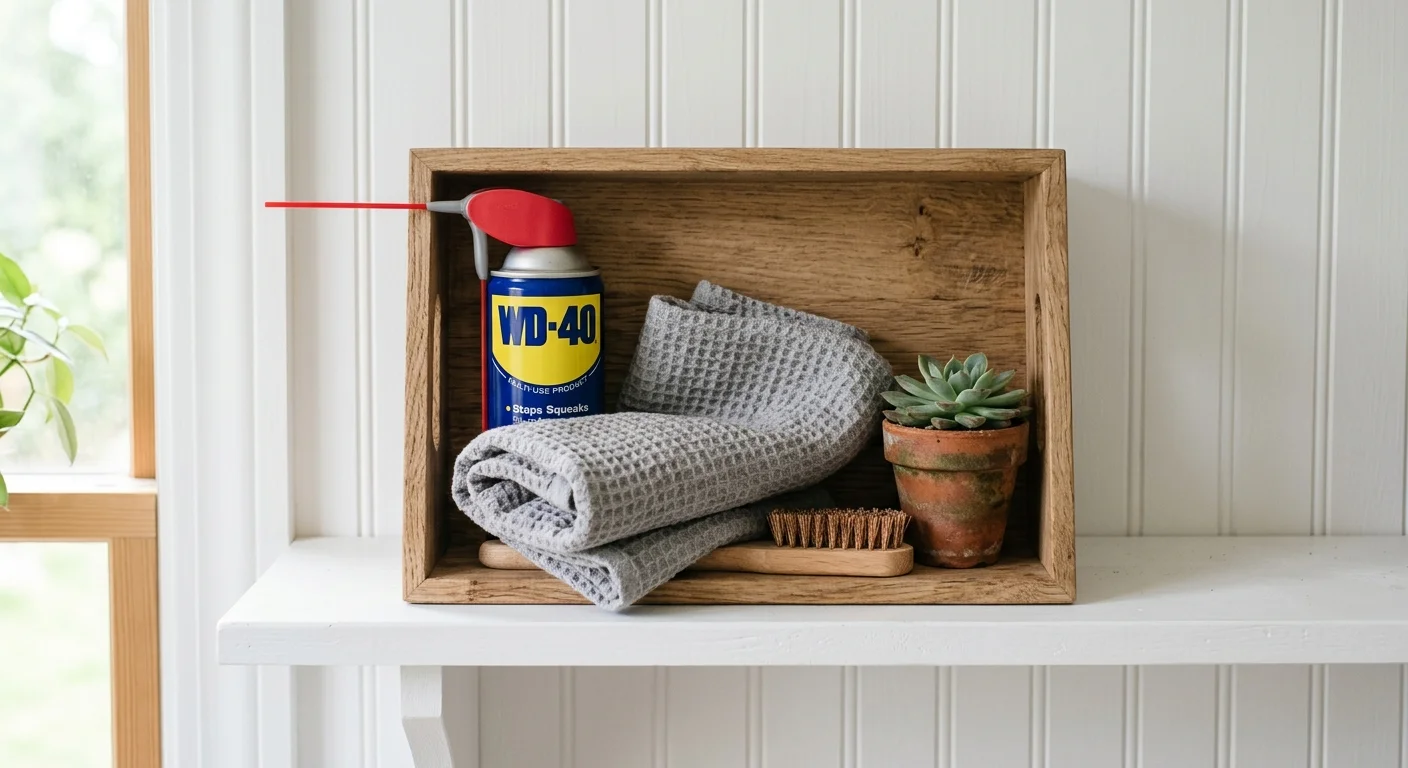
The Big Picture: Weaving These Maintenance Hacks into Your Home
Maintaining a sophisticated interior aesthetic requires a holistic balance between curated design choices and practical, disciplined home upkeep. High-end trends like quiet luxury, organic modernism, and biophilic space planning prioritize rich raw materials—unlacquered metals, solid hardwoods, custom glass, and natural stone surfaces. However, these noble materials demand thoughtful maintenance; neglecting minor mechanical friction or surface oxidation quickly diminishes the visual impact of an expensive interior renovation project.
Integrating trade secrets like WD-40 surface conditioning into your seasonal cleaning routine allows you to preserve surface integrity without resorting to harsh chemical strip-downs or costly contractor service calls. By treating metal hardware, architectural glass, and floor finishes with precise preventive care, you protect the material provenance and financial value of your home. A truly luxurious residence does not merely look exceptional on day one—it retains its quiet elegance, immaculate cleanliness, and flawless physical function through decades of lived experience.
For the latest color forecasts, consult industry leaders like Pantone and paint companies like Benjamin Moore. For professional design standards, refer to the American Society of Interior Designers (ASID).
Frequently Asked Questions
Will WD-40 damage fine hardwood floor finishes or unsealed natural stone?
WD-40 is safe for cured polyurethane hardwood finishes when applied sparingly with a soft cloth to remove scuffs, but you must avoid applying it directly to raw, unsealed wood or porous natural stone like travertine, limestone, and marble. Unsealed stone can absorb petroleum solvents rapidly, causing dark oil spots or permanent discoloration. Always test a small hidden spot first and cleanse hardwood floors immediately afterward with a pH-neutral wood cleaner.
How does surface maintenance support interior design concepts like quiet luxury?
Quiet luxury relies on flawless material quality, subtle textures, and seamless operational flow rather than loud logos or ostentatious decor. When doors glide silently, metal hardware maintains a deep natural luster, and stainless steel remains free of greasy smudges, your home conveys an unhurried, polished sophistication. Proper surface maintenance ensures that high-quality architectural materials retain their tactile appeal and high-end feel over decades.
Can I use WD-40 on brass or copper without destroying the natural aging patina?
Yes, because WD-40 acts as a gentle petroleum solvent rather than an abrasive chemical polish like traditional brass cleaner. It removes accumulated surface grime, finger grease, and superficial oxidation bloom without stripping the naturally developed chemical patina beneath. Applying a thin coat actually protects aged brass and copper from accelerated verdigris corrosion caused by skin oils and high indoor humidity.
Is WD-40 safe for removing adhesive from acrylic or polycarbonate panels?
You should exercise caution when using standard WD-40 on certain clear plastics like acrylic, polycarbonate, or polystyrene, as petroleum solvents can occasionally cause hazing or micro-crazing on sensitive synthetic surfaces. For clear plastic panels, test an inconspicuous corner first, or opt for mild soapy water and a specialized plastic-safe solvent to protect surface clarity.
Disclaimer: This article reflects design trend analysis and predictions. Personal taste and timeless design principles should always guide your decorating choices.